
Cleaning your furnace heat exchanger keeps your home heating system working well and safely. This guide walks you through the simple steps any homeowner can follow. HVAC experts recommend regular cleaning to prevent problems and save money on repairs. You’ll learn what tools you need, how to stay safe, and the right way to clean this important part. With basic maintenance, your furnace will run better and last longer.
Understanding the Heat Exchanger
Your heat exchanger is the heart of your furnace that moves heat from burning gas to the air in your home. This metal part has tubes or coils that hot gases pass through, warming up the walls. When air from your house flows over these hot walls, it gets heated before going back into your rooms. The heat exchanger keeps the burning gases separate from the air you breathe, making it safe. Knowing how this works helps you clean it properly and spot any problems.
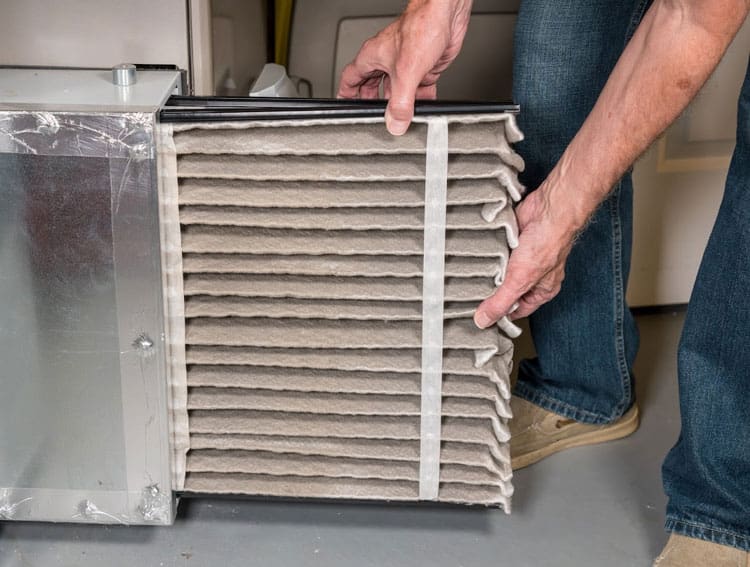
Tools and Materials Needed
Get these items ready before you start cleaning your heat exchanger:
• Screwdriver for removing panels
• Soft brush or vacuum with brush attachment
• Flashlight for seeing inside the furnace
• Damp cloth for wiping surfaces
• Mild soap for cleaning
• Clean towel for drying
Having everything ready makes the job go smoothly. The screwdriver helps you take off access panels safely. The brush or vacuum removes dirt and dust. Good lighting lets you see what you’re doing. The cloth and soap clean surfaces, while the towel dries everything when done.
Safety Precautions to Follow
Safety comes first when working on your furnace. Turn off all power to the unit before starting any work. Let the furnace cool down completely – this takes at least 30 minutes after it stops running. Put on gloves, safety glasses, and a dust mask to protect yourself. Make sure the work area has good air flow to avoid breathing harmful fumes. Keep a fire extinguisher nearby just in case. Read your furnace manual for specific safety tips. These steps keep you safe during the cleaning process.
Steps to Clean the Exchanger
Find the access panels on your furnace – they’re usually held on with screws. Turn off the power and wait for everything to cool down. Remove the panels carefully with your screwdriver. Use your vacuum with the soft brush to clean the outside of the heat exchanger, removing dust and dirt. Look inside for any buildup of soot or grime. Gently brush or vacuum the inside surfaces to remove dirt. Work slowly to avoid damaging anything. When you’re done cleaning, put the panels back on tight and turn the power back on.
Inspecting for Wear and Tear
Check your heat exchanger for problems while cleaning it. Look at the outside for rust, cracks, or other damage. Check joints and seams for gaps. On the inside, watch for heavy soot buildup, which means the burner isn’t working right. Look for dark spots that show overheating. Listen for strange noises when the furnace runs. Smell for odd odors that might signal problems. Finding issues early prevents more costly and extensive repairs later.
Testing Furnace Efficiency
After cleaning and checking your heat exchanger, test how well your furnace works. Check that air flows properly through all vents in your house. Look at the burner flames – they should be blue and steady, not yellow or dancing around. Measure the temperature of the air going into the furnace and the air coming out. The difference should match what your furnace manual says is normal. Do these checks regularly to keep your furnace running at its best.
Related Topics:


