
Learning how to repair AC unit problems can save you money and keep your home comfortable during hot weather. This guide covers the main steps homeowners can take to fix common air conditioning issues safely and effectively. Safety comes first when working on any cooling system, so we’ll start with important precautions before moving on to repairs. Finding a dependable HVAC crew for major repairs is smart, but many simple fixes can be done yourself. These steps will help you maintain your air conditioner and handle basic problems when they occur.
Safety Precautions
Safety must come first when working on air conditioning systems. Turn off all power to the unit at both the thermostat and the circuit breaker before starting any work. Capacitors hold electrical charges even when power is off, so discharge them carefully with an insulated screwdriver. Wear safety glasses and work gloves to protect yourself from sharp metal edges and electrical parts. Use a voltage tester to confirm the power is completely off before touching any components. Follow all warning labels on the equipment and check your owner’s manual for specific safety instructions. Taking these steps protects you from injury and prevents damage to your AC system.
Troubleshooting Common Issues
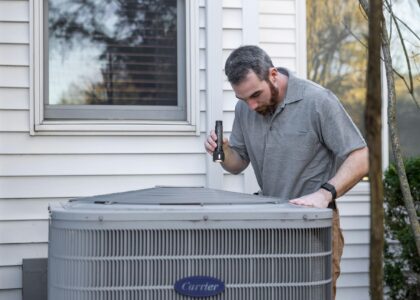
Start troubleshooting by looking closely at all system parts for visible damage or problems. Check the air filter first – dirt buildup blocks airflow, making cooling less effective. Look at your thermostat settings to make sure they’re set correctly. Check the outdoor unit for leaves, debris, or anything blocking the fan or airflow. Look for loose wires or rust on electrical connections, as these cause electrical problems. Listen for strange noises while the unit runs – grinding, squealing, or banging sounds often mean internal parts need attention. Following these steps helps you identify and resolve common AC issues.
Cleaning the AC Unit
Regular cleaning keeps your AC running smoothly and efficiently. Turn off all power to the unit before you start cleaning. Use a soft brush or vacuum to remove debris, leaves, and dirt from the outdoor condenser coils. Check the coil fins for damage and gently straighten any bent ones. Clean the indoor evaporator coils by brushing off dust and dirt carefully. Clear any clogs in the condensate drain line using a bleach and water mixture. Clean or replace the air filter to keep air flowing properly. Regular cleaning of these parts helps your AC work better and last longer.
Inspecting and Replacing Filters
Checking and changing filters helps maintain strong airflow and ensures your AC runs efficiently. Find the filter housing, usually located near the return air duct. Turn off the unit before removing the filter to keep debris out of the system. Check filters monthly and replace them every 1-3 months based on how much you use your AC and what type of filter you have. Look for dirt that blocks airflow when inspecting. Dirty filters don’t just reduce efficiency – they make your system work harder and can cause damage. Ensure that new filters match the size and type recommended by your manufacturer. Clean filters improve air quality and help your AC last longer.
Checking and Repairing Ducts
Inspecting and repairing ducts ensures air flows smoothly and maintains AC efficiency. Start by looking at all ductwork for leaks, tears, or loose connections. Use a flashlight to check hidden areas that you can’t normally see. Seal any gaps you find with foil tape or mastic sealant to stop air from escaping. Make sure ducts have good insulation to prevent energy waste. Insulation wears out over time, so replace or fix any damaged sections quickly. Well-sealed and insulated ducts ensure cool air reaches where it needs to go, improving AC performance and reducing energy bills.
Testing the AC Unit
After making sure ducts are sealed and working properly, test your AC unit to check how well it’s working. Testing helps you spot problems and confirms everything runs correctly. Here are three key steps for testing your AC:
- Listen for Unusual Sounds: Run the AC and listen for strange noises like grinding, squealing, or banging, which could mean something needs fixing.
- Check the Thermostat: Ensure it’s set to cool and at a temperature lower than the current room temperature. This makes the AC turn on when needed.
- Monitor Airflow: Feel the air coming from vents to confirm it’s strong and cool. Weak airflow may indicate issues with the blower motor or ducts.
Related Topics: