Dealing with air conditioning problems can be frustrating, especially when your system isn’t cooling properly. This guide walks you through the step-by-step process to repair a Freon leak in air conditioner systems. You’ll learn how to find the leak, gather the right tools, and fix the problem safely. The repair process requires patience and careful attention to detail. For complex issues or when you’re unsure about safety procedures, it’s best to contact qualified HVAC professionals.
Understanding Freon Leaks
Freon leaks occur when refrigerant escapes from your air conditioning system, thereby reducing its cooling capacity. The process of repairing a Freon leak in air conditioner units begins with understanding what causes these leaks. Common causes include damaged coils, loose connections, or worn-out valves. Signs of a leak include weak cooling, hissing sounds, or ice forming on the refrigerant lines. When freon leaks out, your AC works harder but cools less, driving up energy bills. Regular maintenance helps identify leaks early, preventing them from causing major problems.
Tools and Materials Needed
Getting the right tools makes this job much easier. You’ll need a refrigerant leak detector to find exactly where the freon is escaping. A soap solution helps you see leaks by making bubbles at the problem spot. Pick up a leak repair kit that includes sealant or epoxy made specifically for AC systems. An adjustable wrench lets you loosen and tighten connections safely. Don’t forget safety goggles to protect your eyes from chemicals. Having everything ready before you start saves time and helps the repair go smoothly.
Locating the Leak
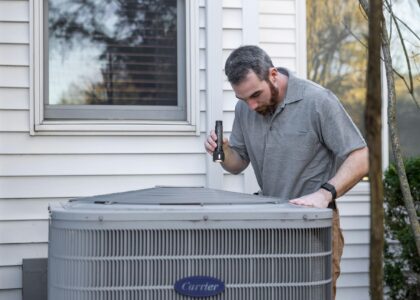
Start by looking closely at all the visible parts of your AC unit.
- Check the Refrigerant Lines: Look for oil spots or refrigerant residue around pipe connections.
- Inspect the Evaporator Coil: Check for rust, corrosion, or ice that shouldn’t be there.
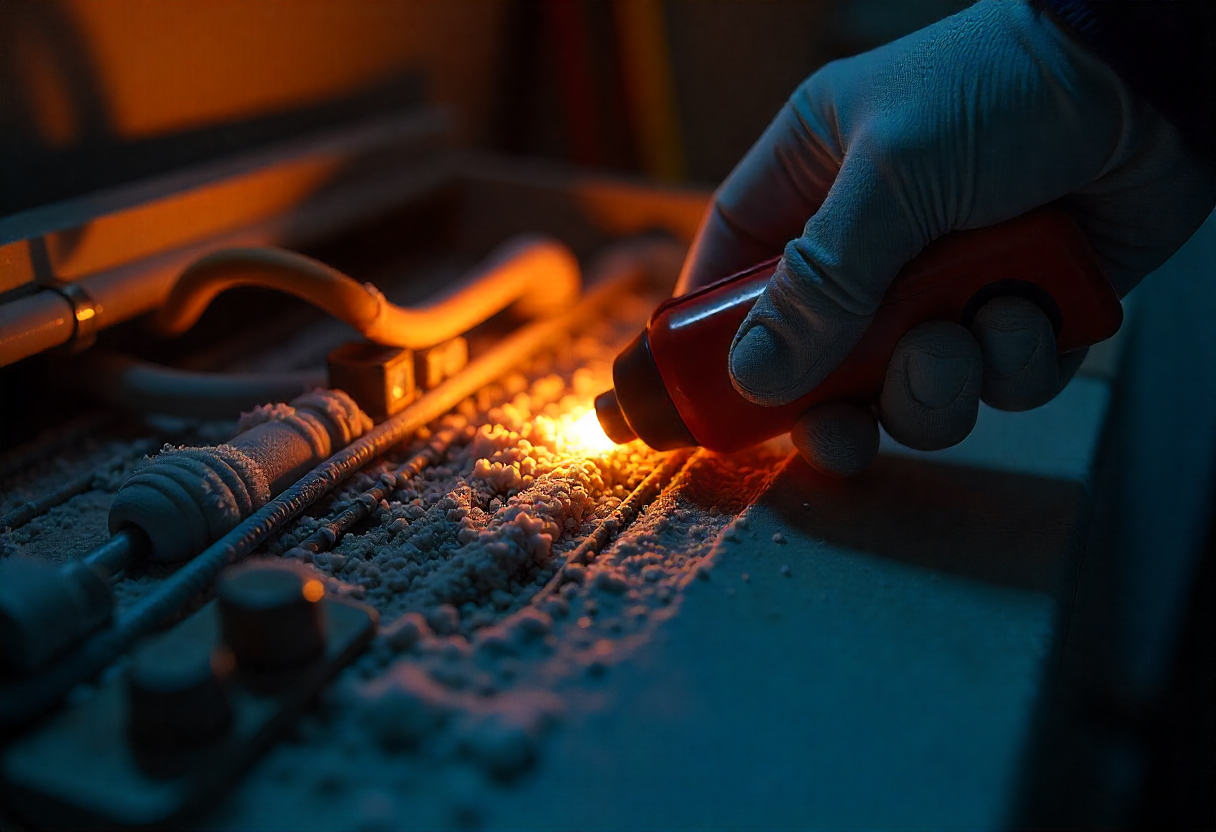
- Use a Leak Detection Solution: Spray the special solution on suspected areas and watch for bubbles that show where air is escaping.
Repairing the Leak
Clean the leak area thoroughly before starting any repair work. Remove dirt and debris, then lightly sand around the leak to get rid of rust or corrosion. Apply the special epoxy or solder designed for AC systems directly to the leak. Follow the package directions exactly for the best results. Give the repair plenty of time to dry and set completely. Once it’s fully cured, run a pressure test to make sure the leak is actually sealed. Take your time with this step – rushing leads to failed repairs.
Recharging the System
Now you need to add the right amount of refrigerant back into your system. Here’s how to do it safely:
- Locate the Service Valves: Find both the low-pressure and high-pressure valves on your unit.
- Attach the Refrigerant Hose: Connect your hose to the low-pressure valve first.
- Add Refrigerant: Slowly add the correct type and amount of refrigerant as specified by your unit’s manufacturer.
Testing for Leaks
The final step ensures that your repair was successful. Run a pressure test by adding a tracer gas (usually nitrogen) to the system. Use your leak detector to check every connection, joint, and component for escaping gas. Close all valves and isolate the system first. Then add the tracer gas and bring the pressure up to the recommended level. Your detector will beep or light up if it finds any leaks. Fix any new leaks you find, then test again until the system holds pressure perfectly.
A successful repair means your AC will cool properly again and you won’t lose expensive refrigerant. Take your time with each step, and don’t hesitate to call a professional if the leak is large or in a hard-to-reach spot.
Related Topics: